
A catering services walkthrough
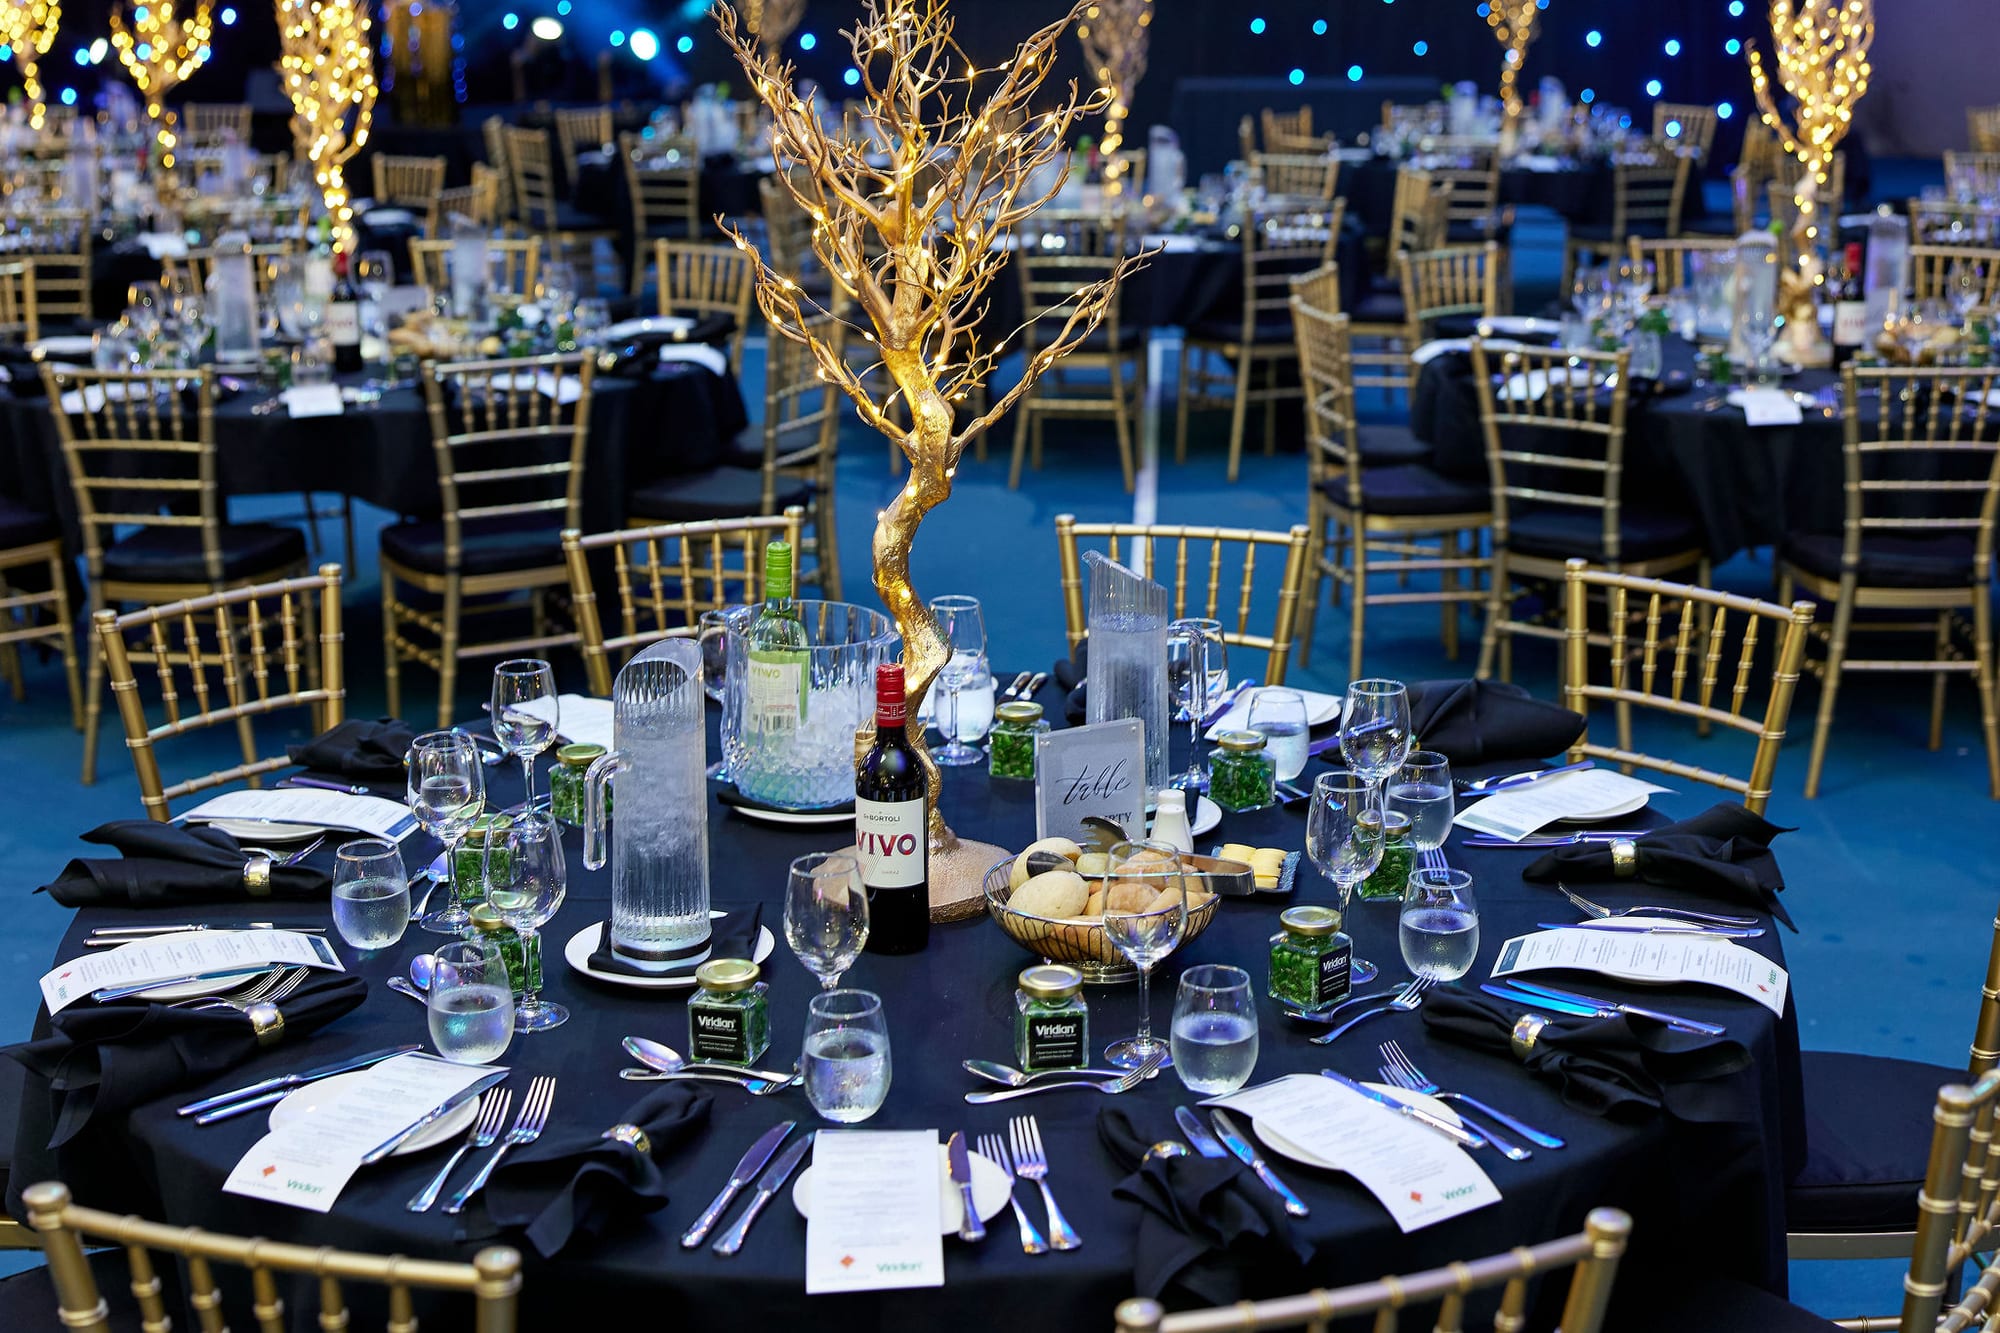
Most help articles in this section cover one feature at a time. This one's different. It walks through using 1pm end-to-end for a caterer running their own client jobs: the lead, the menu, the costing, the quote, the run of show, and getting paid. If you cater weddings, corporate functions, private dining, pop-ups, or festival stalls, this is the shape of the workflow.
The distinction that matters for a caterer is that you don't own the room. You turn up at someone else's venue (or a park, or a marquee on a client's lawn) and you run the food operation inside it. So the workflow below is built around your job, not a venue's booking calendar: your menu, your kitchen brief, your staff, your margins.
If you're new to 1pm, this article assumes you've signed up and you're looking at the Leads inbox you land on. If you've used the app for a while, treat it as a sample workflow; you'll recognise the individual features from other articles.
The example throughout is a 120-pax plated wedding dinner you're catering at a hired barn, with a prix-fixe menu at a set price per head. The same workflow covers a cocktail canapé function, a buffet corporate lunch, or a market stall.
The shape of a catering job
A catering job has a few traits that shape the workflow. The client is usually an individual or a couple, not an organisation, and they've come to you for the food. The location is not yours: it changes job to job, so saving each venue as a Space pays off the second time you cater there. The money sits on the food: a quote, often a deposit up front, a balance before the day. And the operation splits in two on the day itself, a back-of-house kitchen timeline and a front-of-house service timeline, each with its own crew.
The phases we'll work through:
- Capture the job, from a lead or by hand.
- Set the Space, the venue you're catering at.
- Build the menu in your menu library and attach it.
- Cost the menu so you know your margin before you quote.
- Quote the job and take a deposit.
- Build the run of show, kitchen and service.
- Add your crew and collect dietaries.
- Share the live link and run the day.
- Invoice, take the balance, and get paid.
Capture the job
Most catering leads arrive as a message: an email, a form fill, a DM. If you've put the embeddable lead form on your website (article 97), the lead lands straight in your Leads inbox with the client's name, date, guest count, and message already captured. Work the lead, reply to nail down the details (article 99), then click Create event to turn it into a job. The contact is created and the event is prefilled with the name, date, and pax you already know (article 100).
If the job came in some other way, skip the inbox and click New event from the events list. Either way, fill in:
- Name. The client and the date in whatever shorthand you'll recognise on a busy list. "Patel wedding, Sat 18 Oct" works.
- Date. The day you're catering. If you're prepping or dropping equipment the day before, that gets handled on the run of show, not by moving the event date.
- Status. A new lead sits as Lead; move it to Tentative when you've pencilled the date, Confirmed once the deposit lands. After the job, set it to Completed so it drops off your active list.
- Pax and Pax guaranteed. Pax is the working headcount. Pax guaranteed is the number you're contracted to cater and charge for regardless of final attendance, the floor you build your food order against. The kitchen preps to Pax guaranteed.
- Client and Organizer. The client is the couple or host. The Organizer is whoever's coordinating on the day if that's someone else (a wedding planner, the venue's coordinator, the best man running the timeline).
Save, and you're back on the events list with the job ready to populate.
Set the Space
Because the venue isn't yours, the Space record is where you keep everything you need to know about a place you don't control. The first time you cater at a venue, click Add new Space from the picker on the event and fill in:
- Name. The specific room or area, not just the building. "The Long Barn, Willow Farm", not "Willow Farm". A venue with two function areas is two Spaces.
- Address. Paste it from Google Maps if that's easier.
- Access and parking instructions. This is the field that earns its keep for a caterer. Where's the kitchen door? Is there a working oven or are you bringing everything? Where does the van unload, and is there a time the gate's locked? What's the power situation for the marquee? Every venue is different and this is where you stop re-learning it each time.
- Capacity and Size. The room's numbers, useful for laying out service.
- Main contact. The venue's coordinator or caretaker. Once set, their number shows on the briefing header of every job at this Space, so your team always has someone to call when the barn's locked at 7am.
- Files. The venue floor plan, a photo of the kitchen, the loading-dock shot. These carry to every future job at the same Space, so you never re-upload them.
The second time you cater at Willow Farm, the Space autocompletes and pulls all of that back in. If your job only uses part of the Space (the marquee but not the barn), set the Zone field on the event.
Build the menu
Open Menus from the sidebar and build the menu for this job, or reuse one you've built before. A menu is courses and dishes: entrée, main, dessert, each with the dishes under it. Drag to reorder. For a prix-fixe wedding you set a price per head and the quantity prefills from your pax; for an à la carte or grazing job you price each dish and leave the menu unpriced. Article 111 covers the menu builder in full.
Tag each dish with its dietary abbreviations (V, VG, GF, DF, N) as you build. Those carry through to the printed menu and the kitchen brief, so you set them once.
Attaching the menu to the job does three things at once: the courses print on the client-facing confirmation, they print on the BEO your kitchen reads, and, if the menu is priced, the price per head drops straight onto the job's charges ready to quote. One menu, three surfaces, no re-typing.
The printable menu (the Print button on the menu, or the Menus report) lays the menu out as a real customer-facing menu with your logo and your own fonts, a proper tasting-menu card rather than an internal spreadsheet. Send it to the client, hand it to the venue, use it as a place card. This is the piece caterers and pop-ups tend to love; it makes the food look like the product it is.
Cost the menu
Here's the part a venue rarely bothers with but a caterer lives or dies by: knowing your plate cost and your margin before you quote, not after the job's done. 1pm has a full recipe-costing suite, and every number in it is internal, never shown to a client on any document.
The short version (articles 114 to 117 cover it properly):
- Ingredients. Build a library of what you buy, each described the way you actually purchase it (a 2.5kg bag at $14.50, a case of 6 at $22). 1pm works out the per-gram or per-each cost.
- Recipes. Build each dish as a recipe: the ingredients and quantities. 1pm totals the batch cost and the per-serving cost. Prep sub-recipes (a stock, a base sauce) nest inside other recipes and their cost flows up.
- Plate cost, food cost, margin. Link a menu dish to its recipe and 1pm shows the plate cost, the food cost percentage, and the margin against your menu price, per dish and rolled up per head. So before you send the quote you can see the 120-cover prix-fixe at $34 a head is costing you $7.52 in food, a 22% food cost, and where your gross lands.
If formal costing is new to you, article 117 is a plain-terms walkthrough with one worked dish start to finish. If you already cost by hand on a spreadsheet, this just does the arithmetic live and re-costs everything the moment an ingredient price changes.
None of this appears on the client's quote, confirmation, or menu. It's yours.
Quote the job and take a deposit
Open the job's Billing page (the Billing button in the event header). If you attached a priced menu, the per-head line is already there. Add anything else: staffing, travel, hire, a cake-cutting fee. Group related lines into packages if it reads better to the client. Article 101 covers the line editor.
From here you raise a quote and send it to the client (article 103). They get a clean, branded web page (no login, no PDF attachment to lose) and can accept it online. Accepting a quote creates the confirmed event and seeds the pricing, so an accepted quote is a booked job.
For a wedding you'll almost always want a deposit. Set a deposit on the confirmation, a percentage or a fixed amount with a due date, and 1pm splits the total into deposit and balance and tracks each as paid or outstanding (article 110). The client signs off the confirmation online, which locks it as a record with their name and a timestamp (article 109). That's your contract.
Build the run of show
Click into the job to open the planner. For a caterer the run of show is really two timelines woven together: what the kitchen is doing and what the service team is doing.
A typical catering run of show for the barn wedding:
- 7:00am Van loads at base.
- 9:00am Arrive on site, kitchen set-up, unload.
- 11:00am Prep starts, mains braising, garnish mise en place.
- 1:00pm Canapé plating begins.
- 2:00pm Front-of-house arrive, floor set, glassware polish.
- 3:00pm Ceremony (you're not running it, but it's on the timeline for context).
- 3:30pm Canapés and drinks service.
- 5:30pm Guests seated.
- 5:45pm Entrée service, all tables.
- 6:30pm Main service.
- 7:45pm Speeches (hold dessert).
- 8:30pm Dessert service.
- 9:00pm Coffee and petit fours.
- 10:30pm Kitchen breakdown, pack the van.
- 11:30pm Off site.
Type it in directly with the + Insert row, or paste a draft in from a spreadsheet (article 13). Put the detail the kitchen needs in each item's Details field: "Entrée: 88 standard, 22 vegetarian, 6 GF, 4 vegan. Plate to the pass, servers run in waves of two tables."
The Details field is where you turn a timeline into a brief. The "Main service" item might read "Beef for tables 1 to 9, lamb for 10 to 15. Vegan mains to table 4 seats 2 and 3, GF to table 7. Check the pass sheet before you run."
Add your crew and collect dietaries
Open the Crew accordion on the planner and add your team for this job: the head chef, the CDPs, the kitchen porters, the front-of-house lead, the servers, the bar staff. If they've worked for you before they're already in your Contacts with tags, so typing "server" surfaces your regulars first (article 67).
Assign each item's Responsible person: the kitchen items to the head chef, the service items to the FOH lead. Each person's live link then shows their slice of the day highlighted, with the rest as context.
For the food itself, turn on dietary collection (article 93). Where the venue or the couple has collected guest dietaries, you get the totals on the BEO automatically ("22 vegetarian, 6 gluten-free, 4 vegan including no dairy") plus a per-guest list you can print for the pass. The kitchen preps to the numbers; the pass works off the by-guest list.
Give individual crew a private brief where they need one (article 21). Head chef: "Client's father is a chef, he'll come to the pass, be gracious but keep him out of the flow." Bar lead: "No spirits before the ceremony per the client. Sparkling and soft only on arrival."
Share the live link and run the day
Each crew member gets a personal live link from the Crew accordion (article 10). Send it by email or text, or hand out QR codes on a walkthrough. Regulars should bookmark their crew portal, the one link that lists every job you've put them on (article 59), so you're not chasing links three weeks out.
On the day, your kitchen and floor leads open their links on their phones. The current item shows a "Now" marker, upcoming items count down, and each person taps Start and Mark finished as they go. You watch the whole operation fill in on the planner from the pass, and if the speeches run long and dessert has to hold, you drag the dessert item and every phone updates within seconds. No more shouting the new plan across a noisy marquee.
For the venue's own staff or the wedding planner, share the single public read-only link for the whole event (article 34).
Invoice, take the balance, and get paid
The deposit came in when they signed. Before the day (or after, on your terms) you invoice the balance. From the job's Billing page, copy the charges to a draft invoice, which takes a frozen snapshot so later menu tweaks don't rewrite an issued invoice (article 103). Issue it, send it as a branded web invoice, and the client can pay online by card if you've connected Stripe (article 104), or you record a bank transfer against it yourself. Part-payments and balances track automatically, and the invoice marks itself Paid when it's settled.
If you added a service charge or a gratuity line, article 112 covers how each is treated (service charge mandatory and usually taxed, gratuity voluntary and never taxed).
After the job
A few housekeeping items:
- Set the status to Completed. It drops off your active list but stays fully accessible, with the menu, the costing, the crew, and the dietaries all intact.
- Check your actual margin. Because you costed the menu, and because your ingredient prices are live, you can look back at what the job actually returned rather than what you hoped. If beef went up between the quote and the day, you'll see it.
- Save it as a template. If you run the same three-course wedding menu most Saturdays, save the job as a template (article 50) and the next one is the date, the client, and the venue, not a rebuild.
Set up automations
A caterer's week is full of the same chases: final numbers, dietaries, the balance, the staff roster. An automation is a rule you set once: a trigger (when it runs) and one or more actions (what it does). Build them under Automations in the sidebar. They start switched off, so nothing sends until you turn one on, and Show upcoming lists the bookings a rule will run for before you do.
A few that suit a caterer:
- Chase a quote before it runs out. Trigger Quote running out at 3 days reminds the client that the menu price holds until the date on the quote (when a quote runs out).
- Ask for the deposit. Trigger Accepted, no payment at 2 days reminds the client that the date is not held until the deposit is paid.
- Lock in the numbers. Trigger X days before the event at 14 emails the client for final pax and dietaries. A second rule at 10 days creates your Ordering and prep workflow as a task, and uses Email an address to send the head chef the guest count and the date.
- Onboard your staff. Trigger Someone is added with Send their invite sends each waiter or chef their link the moment you add them. Give them a section adds your kitchen staff to a Kitchen section of requests, so they see the food safety questions and the floor staff do not.
- Keep certificates current. Trigger Document expiring at 30 days asks a staff member for a new food safety or RSA certificate before the old one runs out (chasing expiring documents).
- Get the balance in. Trigger Invoice due soon at 3 days reminds the client, and Paid in full sends a thank-you receipt (chasing overdue invoices).
- Ask for feedback. Trigger X days after the event at 2 thanks the client and asks for a review.
Where a caterer gets the most out of 1pm
Two places, mostly. The menu and costing suite means the food is both the customer-facing product (a real menu, not a report) and a costed operation (plate cost and margin you can see before you quote, not after). And the run of show plus live links mean your kitchen and floor teams run off one shared plan that updates in real time, instead of a printed sheet that's wrong by the entrée.
The rest is the same event workflow every 1pm user follows: capture, quote, confirm, run, invoice. A caterer just leans harder on the food end of it, which is exactly where the food end is built out.